

Self-Care Sunday: 2x6 Closure Placement – Behind or In Front of the Hairline, Which Look is Right for You?
When it comes to natural-looking hair extensions, finding the perfect lace closure placement is a game-changer. If you’re new to 2x6 lace closures, you’re in for a treat. This closure style is loved for its protective benefits, versatility, and ability to mimic a leave-out without actually exposing your natural hair to heat or manipulation.
But here’s the big question: Should you place your 2x6 closure behind or in front of the hairline? Each method offers a distinct look and feel, so choosing the right one depends on your personal style, lifestyle, and the overall aesthetic you’re going for. Let’s break down both placements so you can decide which one is perfect for you.

2x6 Closure Placement – Behind or In Front of the Hairline
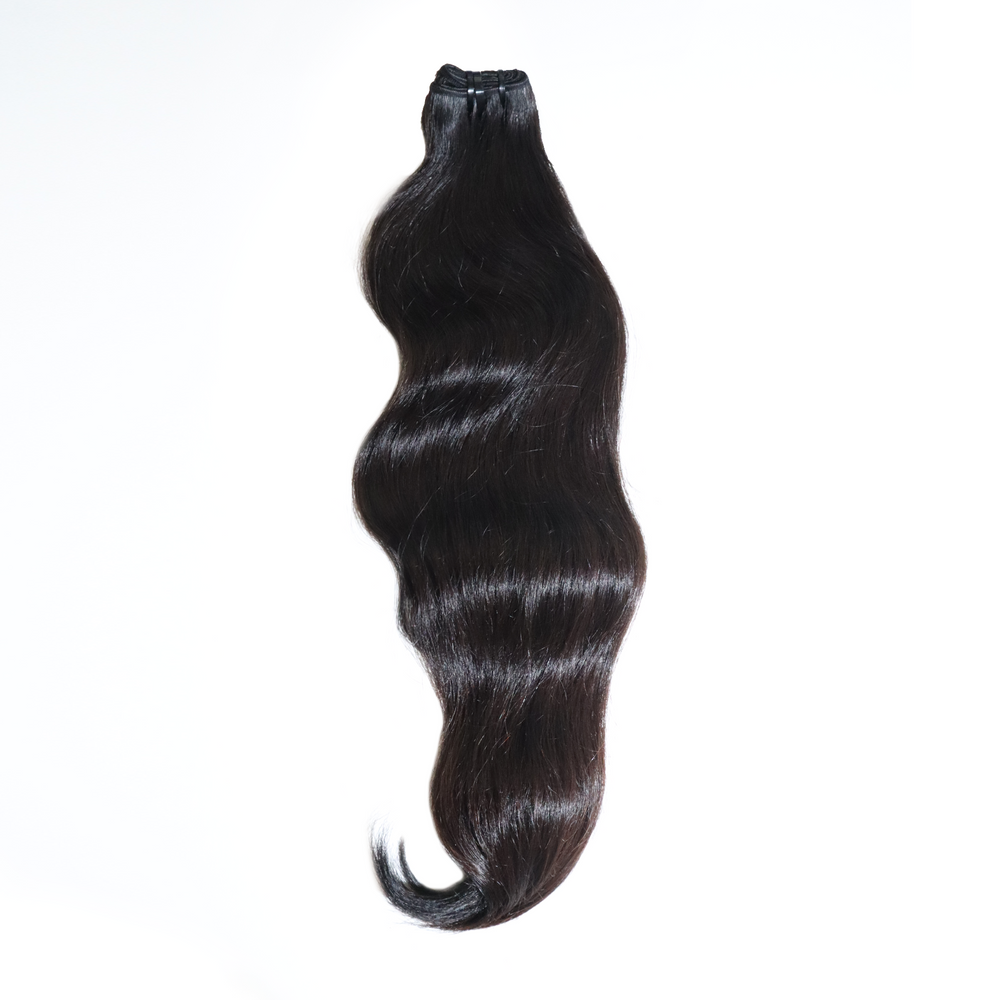
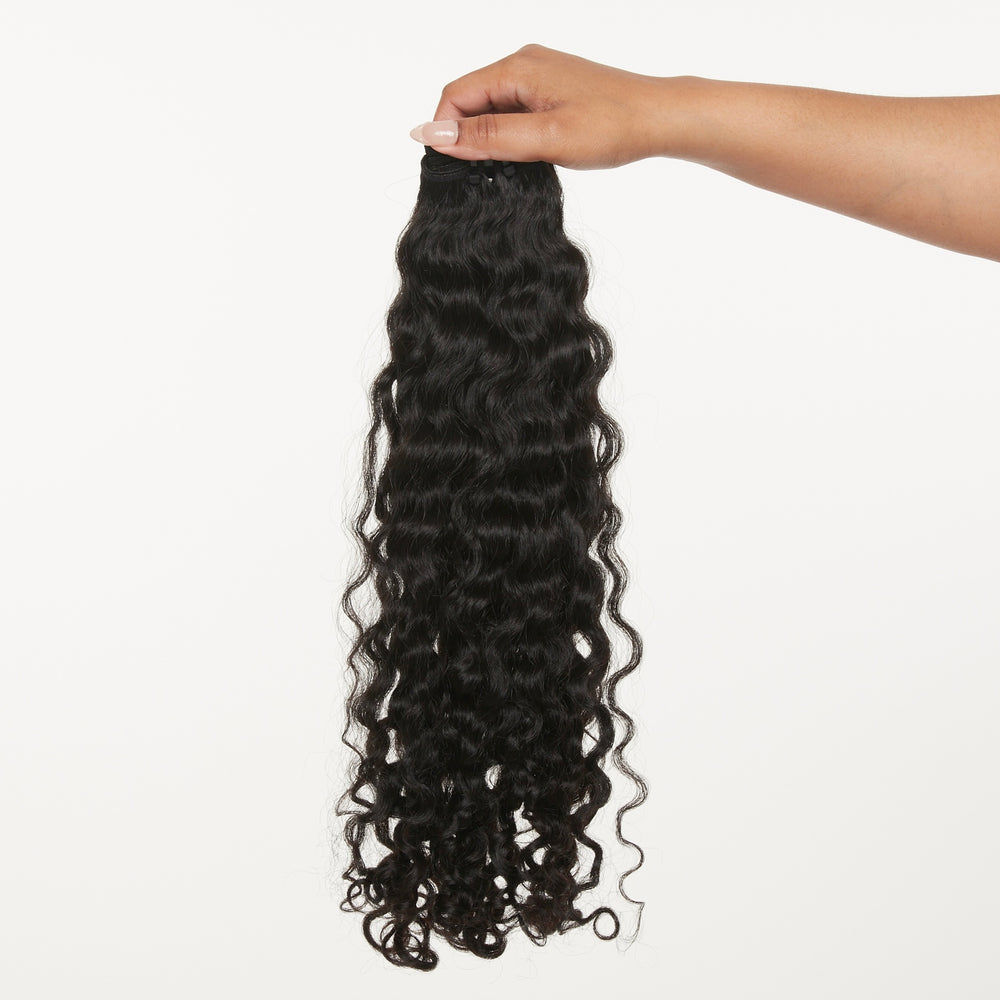
Unlike traditional 4x4 or 5x5 closures, a 2x6 closure is thinner and more elongated, allowing for a longer, sleek part that mimics a natural scalp. This gives a realistic look, whether styled straight, wavy, or with voluminous curls.

At Yummy Extensions, we offer the 2" by 6" Raw Wavy HD Lace Closure, which is the perfect finishing touch to your Raw Cambodian Natural Wave, Raw Cambodian Wavy Elegance, Raw LAO Wavy, and Raw Cambodian Straight Weft extensions. This high-definition lace closure blends seamlessly with your extensions, giving you a flawless, natural finish every time.

Why clients love 2x6 closures:
-
Ultra-natural scalp effect – Looks like your own hair growing from the scalp.
-
Minimal maintenance – A great alternative to lace frontals with less upkeep.
-
Protects natural hair – No need to leave hair out or apply excessive heat.
-
Versatile styling – Can be placed behind or in front of the hairline for different looks.
Now, let’s talk about placement and which style works best for you!
Option 1: Placing the 2x6 Closure Behind the Hairline – The Seamless Natural Look
If you love a super natural, effortless look, placing your 2x6 closure behind the hairline is the way to go. This method allows you to blend the closure with your own hairline, making it look like the hair is growing directly from your scalp.

Benefits of Placing the Closure Behind the Hairline:
-
Most natural appearance – Ideal if you want a subtle, everyday look.
-
Mimics a traditional leave-out – But without the heat damage.
-
Low maintenance – No need for excessive lace customization.
-
Great for beginners – Easier to install compared to frontals.
How to Achieve this Look:
-
Braid down your natural hair neatly, leaving out a small section of your natural hairline.
-
Apply your 2x6 closure, making sure the lace sits just behind your natural hairline.
-
Use a hot comb and edge control to blend your natural hair seamlessly with the closure.
-
Finish with a lace melt band to secure the closure and create a flawless blend.
Perfect For:
-
Women who love a minimalist, undetectable install.
-
Anyone looking for a protective style without excessive lace maintenance.
-
Everyday wear or professional settings where a natural look is preferred.
Option 2: Placing the 2x6 Closure In Front of the Hairline – The Sleek, Melted Look
If you love a polished, high-fashion finish, placing your 2x6 closure in front of the hairline gives you the melted frontal effect without needing a full lace frontal. This method allows you to fully cover your natural hairline, giving a sleek and sculpted look.

Benefits of Placing the Closure In Front of the Hairline:
-
Flawless, polished aesthetic – Gives the effect of a lace frontal without the extra lace.
-
Sleek styling options – Perfect for middle parts, deep side parts, and bone-straight styles.
-
Full hairline coverage – No need to worry about blending your natural hair.
-
Best for special occasions – Ideal for events, photoshoots, or glam looks.
How to Achieve this Look:
-
Braid down all of your natural hair to create a flat base for your closure.
-
Place the closure slightly in front of your natural hairline, making sure the lace is properly secured.
-
Apply lace adhesive or lace spray to ensure a firm, undetectable hold.
-
Melt the lace with a lace melt band for a flawless, seamless look.
-
Use a hot comb and edge brush to create sleek baby hairs (optional) for added realism.
Perfect For:
-
Women who love a glamorous, polished look.
-
Anyone who wants a seamless, lace frontal aesthetic without the full commitment.
-
Special events where a sleek and sculpted install is desired.
Which Look Is Right for You?
-
If you want the most natural, effortless look: Go for behind the hairline.
-
If you prefer a sleek, polished finish: Place it in front of the hairline.
-
If you want the best of both worlds: Experiment with both placements to see which one complements your face shape and styling preferences the best!
Confidence in Your Install
Choosing between behind or in front of the hairline for your 2x6 closure is all about personal preference and lifestyle. No matter which placement you choose, the key is to feel confident, look flawless, and prioritize your hair’s health.
With Yummy Extensions’ premium lace 2x6 closure, you’ll achieve seamless blending, long-lasting wear, and unmatched quality—no matter how you style it.
Which 2x6 closure placement are you rocking next? Let us know in the comments and tag us in your Yummy Extensions install using #YummyExtensions!