

How to Lay Your Lace — Mastering the Art of Seamless Installs
When it comes to lace, the goal is always the same: make it look like it’s growing right out of your scalp. Whether you’re rocking a closure, a frontal, or a full lace wig, the real secret is in how you prep, lay, and melt your lace.
Today, we’re walking you step by step through how to lay your lace for the most natural, undetectable finish — from tinting your wig cap to choosing the right adhesive, cutting your lace, and locking it all in with a melt band. Think of this as your lace front install guide, girlfriend-to-girlfriend style.

Mastering the Art of Seamless Installs
Step 1: Why You Always Tint the Wig Cap
Here’s the thing — your lace is only as good as the base underneath it. If your wig cap doesn’t match your scalp, your lace will never fully melt. That’s why tinting is a non-negotiable step.
When you tint your wig cap, you’re creating the illusion of a real scalp. It prevents that ashy or gray look that shows through the lace and makes your install scream “wig.” Instead, you get a base that blends seamlessly into your skin tone, making the lace look undetectable.
How to Tint a Wig Cap:
- Choose your tint product → You can use:
- Lace tint spray (quick and easy, comes in multiple shades)
- Foundation powder or liquid (pick one that matches your skin tone or scalp tone exactly)
- Apply before laying lace → Put the cap on, smooth it down, and apply the tint evenly across the top where your lace will sit.
- Set it in place → Use a blow dryer on cool or a setting spray to lock in the color.
Pro Tip: Go a little warmer instead of cooler with your tint — especially if your undertone is golden or red. That way, when the lace lays down, it looks like skin and not chalk.
Tinting is one of the best lace melting tips you’ll ever learn — it’s the difference between looking “wiggy” and looking flawless.

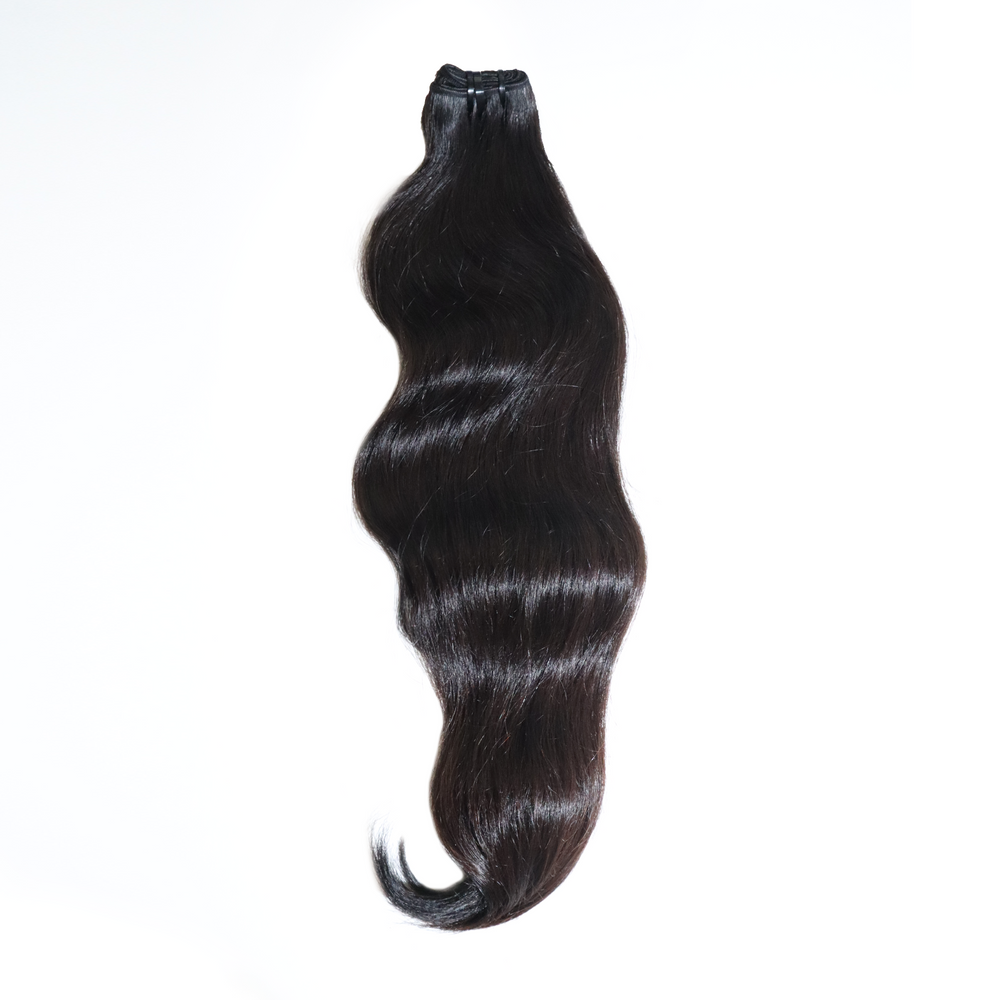
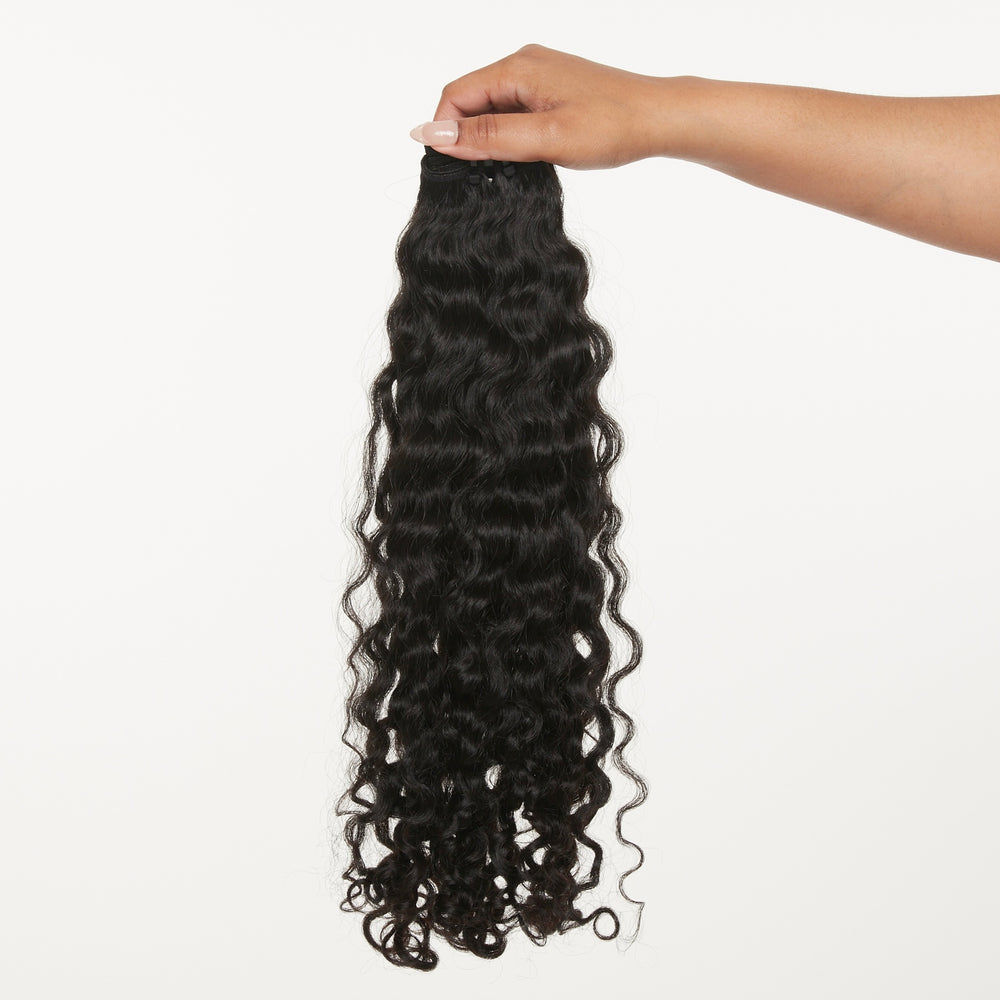
Step 2: Choosing the Right Lace
At Yummy Extensions, we offer lace closures, lace frontals, and lace wigs, and the one you choose affects your install.
- Closures (2x6, 5x5, 7x7) → Great for beginners or low-maintenance installs. They cover the crown and give you a middle or side part without having to do a full hairline. The bigger the size, the more parting space you get. If you’ve been wondering how to install lace closure pieces so they look seamless, the bald cap tinting and melt band technique we’ll cover here is the key.
- Frontals (13x4, 13x6) → Best if you want that “all around” hairline look with edges and styles pulled back. A 13x6 gives deeper parting, while 13x4 is perfect for everyday installs.
- Lace Wigs → a premade wig unit that comes with either a lace frontal or a lace closure already attached. The benefit here is convenience — you don’t have to construct the wig yourself. You can simply install the unit as-is, saving you time while still getting the natural look of lace.

The best part? All of these lace options come in HD lace wigs, which are thinner, softer, and designed to melt better into your skin for a truly undetectable finish.
Step 3: Adhesive Options for Blending Lace
Not all adhesives are created equal — and depending on how long you want your lace to last, you’ll pick one of these four:
- Glue → Best for long-term installs (up to 2–3 weeks). Always let it dry clear and tacky before pressing lace down.
- Spray → Perfect for quick installs or if you remove your lace daily. It’s fast and gives a lightweight hold.
- Gel → Beginner-friendly and great for short-term wear. Plus, it washes out easily.
- Tape → Strong hold without the mess of glue. It’s great for those who want security but aren’t ready to commit to full glue installs.

Pro Tip: Less is more. Using too much adhesive makes the lace messy and harder to blend. Thin, even layers give the cleanest, most seamless lace application.
Step 4: The Lace Melt Band Magic
This is where the real melt happens. Once your lace is laid down with adhesive, you need pressure to secure it into place. That’s why you need a lace melt band.
When you apply the Yummy Lace Melt Band and leave it on for 10–15 minutes, it presses the lace into your skin, bonding the adhesive and lace together so it looks invisible.
Think of it like setting your makeup with powder. Without that step, things can look unfinished. The melt band is what takes your lace from “laid” to “melted.”

Step 5: Cutting Your Lace the Right Way
How you cut your lace makes a huge difference. Cutting in a straight line almost always gives away the install. Instead, use the zigzag method with scissors or a razor.
Why? Because your natural hairline isn’t a perfect line. A jagged cut helps the lace mimic the irregularity of real hair growth, making it look like it’s coming straight out of your scalp.
Pro Tip: Cut small sections at a time. Rushing through and cutting all at once can leave you with uneven edges that are harder to fix.

Step 6: Baby Hair or No Baby Hair?
Baby hair is optional, but it can be your best friend when it comes to making lace look realistic. Light, wispy baby hairs along the front not only hide the edge of the lace but also give your install that natural, effortless finish.
Keep them minimal — think soft strokes, not thick lines. If you don’t like baby hair, that’s fine too. With HD lace wigs, you can still achieve an undetectable look without them.

Step 7: Blending Tricks for a Flawless Finish
- Use foundation powder around the edges of your lace to blend it with your skin.
- If your lace starts lifting slightly, a quick spritz of adhesive spray and reapplying the melt band usually does the trick.
- Always keep your lace clean — buildup makes it harder to blend.

The Secret to Flawless, Seamless Lace
Learning how to install lace closure pieces, lace frontals, or HD lace wigs is really about patience, technique, and the right tools. If you tint your wig cap properly, pick the right lace size for your style, use the right adhesive, and finish with a lace melt band, your lace will melt so seamlessly that no one will ever know it’s not your natural hair.
This is the art of seamless lace application — and once you master it, your installs will always look salon-level flawless.
So next time you’re sitting down to install, remember these lace melting tips and treat this blog like your ultimate lace front install guide.